Introduction
While working on a 3D Halloween themed game involving graverobbing, I wanted graves that the player could dig up and hop into.
The player should be able to hop down into a grave that goes under the terrain’s surface by several meters. These graves have already have a Box Collider that the player’s interaction scripts detect to “dig” away the dirt. This is what the final product ended up looking like (with post FX disabled and lighting altered for clarity):
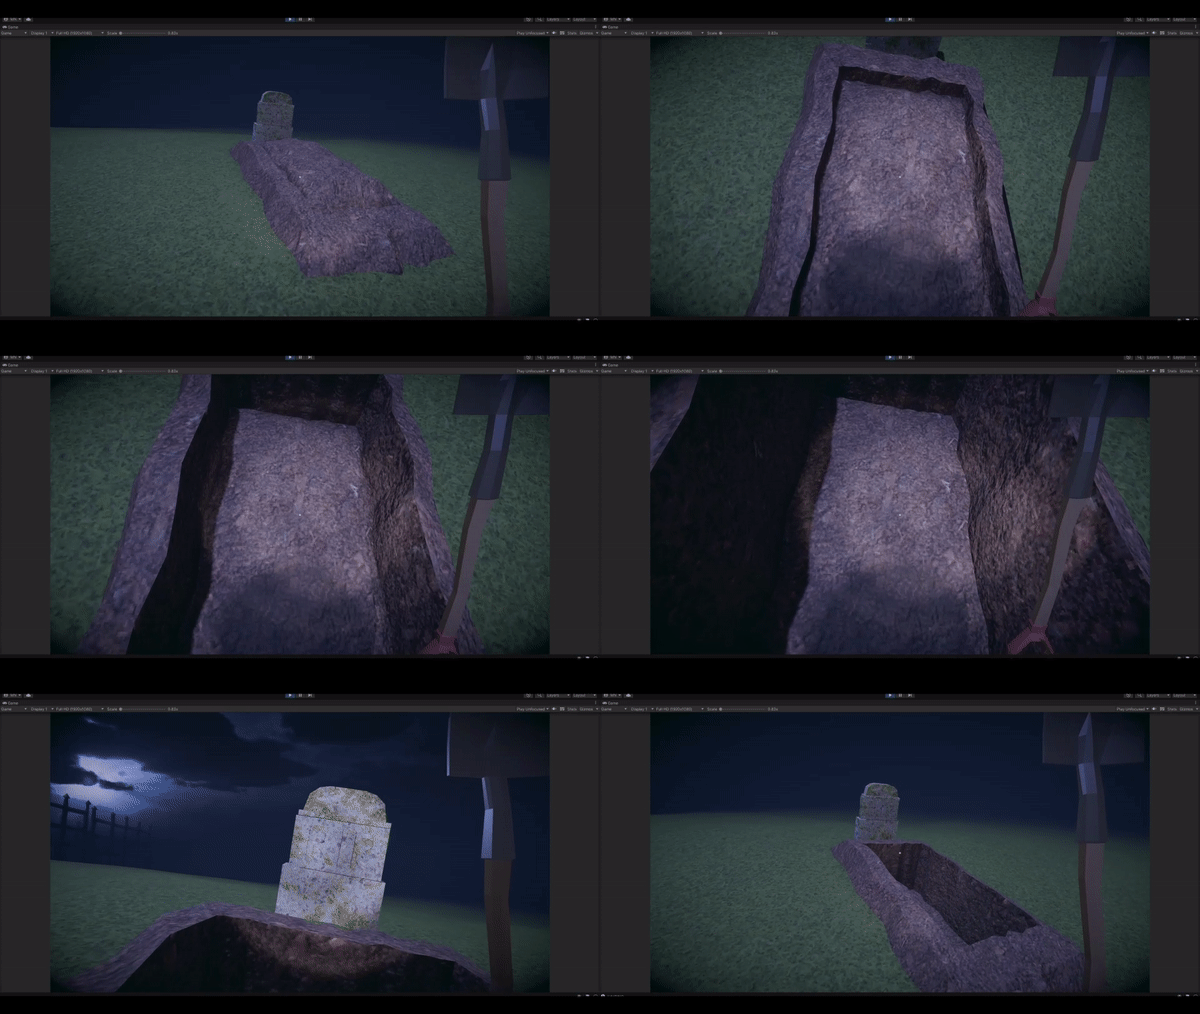
There’s two ways I could think of doing this:
- Utilize another Box Collider as a trigger in the grave such that it that disables all player/terrain collision while the player is inside of it.
- Carve holes through the terrain surface where it intersects with the world-space bounds of a grave’s Box Collider.
I decided that option 1 was a little hackier than I’d like, so I went with option 2. The tricky thing about this was that I am using Unity’s terrain instead of generating my own terrain mesh, so I have to know how to do it The Unity Way™.
The Problems
Fortunately Unity supports Terrain Holes since 2019.3. How does this work? Simply put, a texture is utilized where each pixel represents a filled or unfilled cell in the terrain’s surface. The Terrain and TerrainCollider components then utilize that hole texture in a very similar way to the heightmap. I could get the TerrainData reference from a Terrain component instance and call the TerrainData.SetHoles function. The documentation reads as such:
Sets Terrain holes data using a two-dimensional array of Terrain holes samples. The samples are represented as bool values: true for surface and false for hole. The array dimensions define the area affected, which starts at xBase and yBase. The Terrain holes array is indexed as [y, x].
This means we’re working with pixel positions and world space positions. Fun. Let’s-a-go! But first.
Some Details
Before going forward, some general facts about my setup:
- There are 9 terrains in a 3 x 3 grid, each 100m x 100m in size.
- The hole texture size is 512x512.
Here’s how the grave works. This is what it looks like:
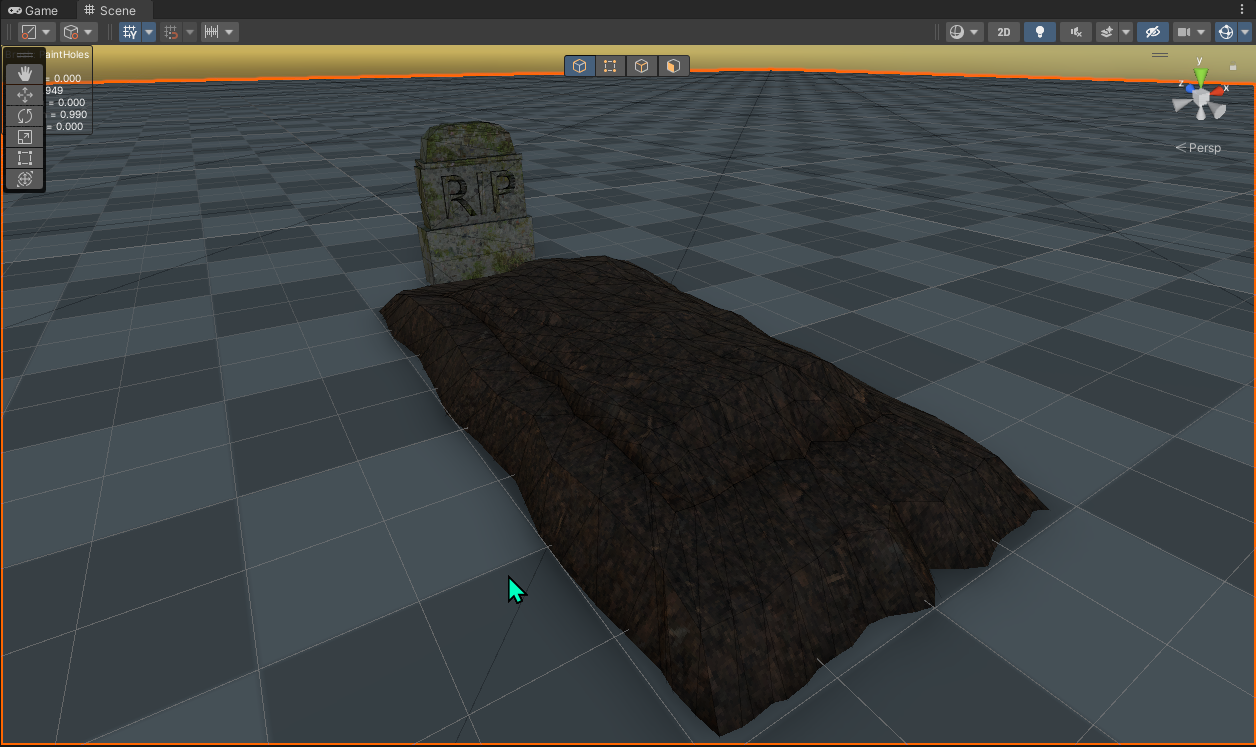
We have a base mesh:
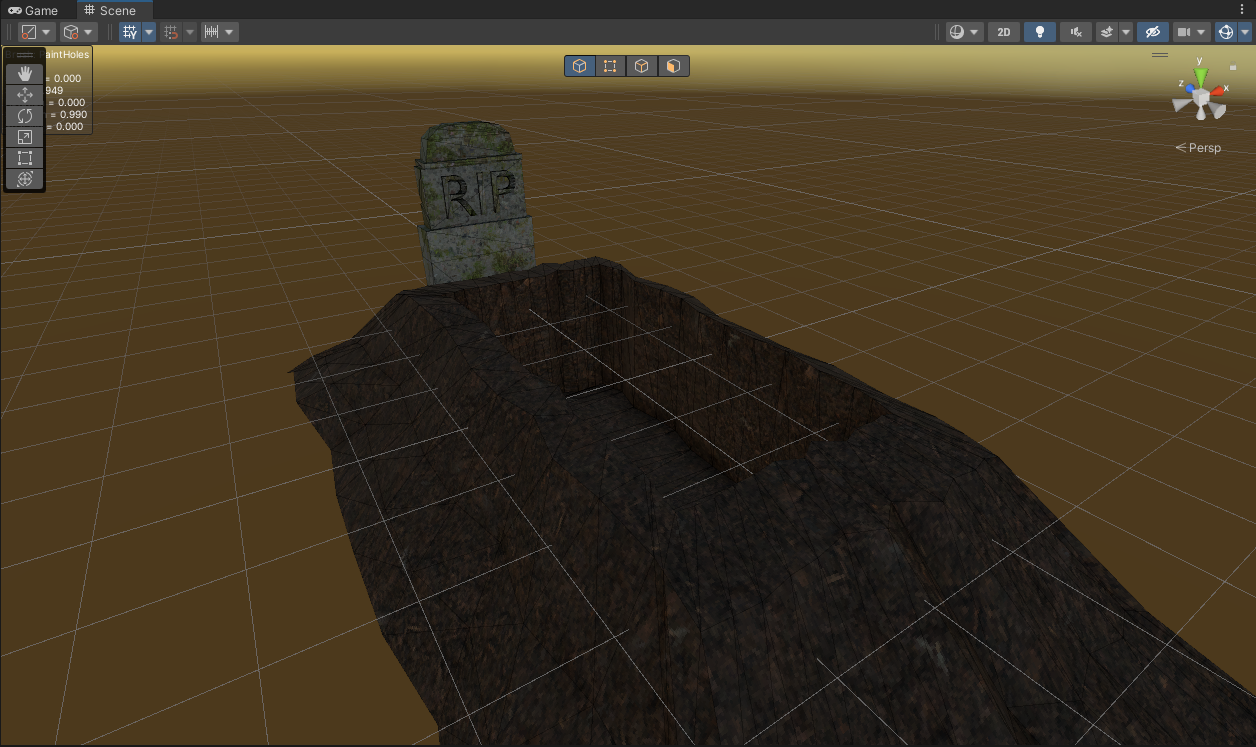
It sticks out a bit above the terrain by default, creating a little beveled shape of dirt along the edge:
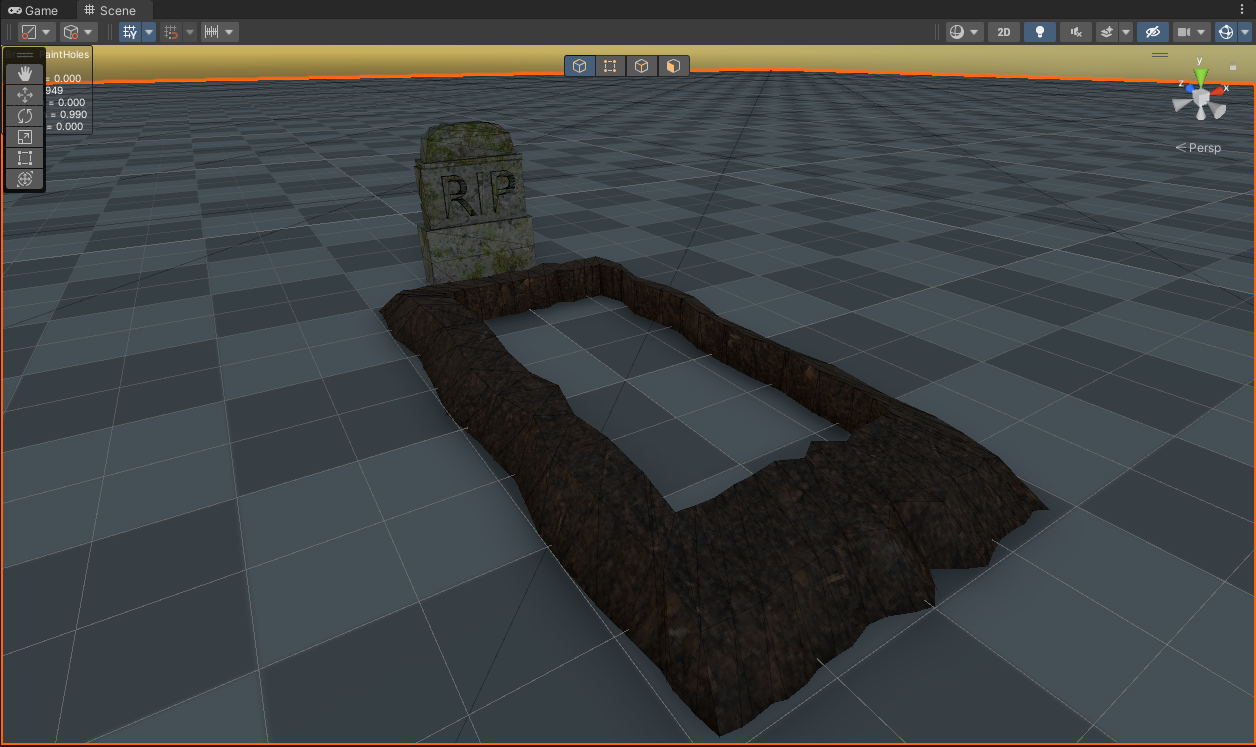
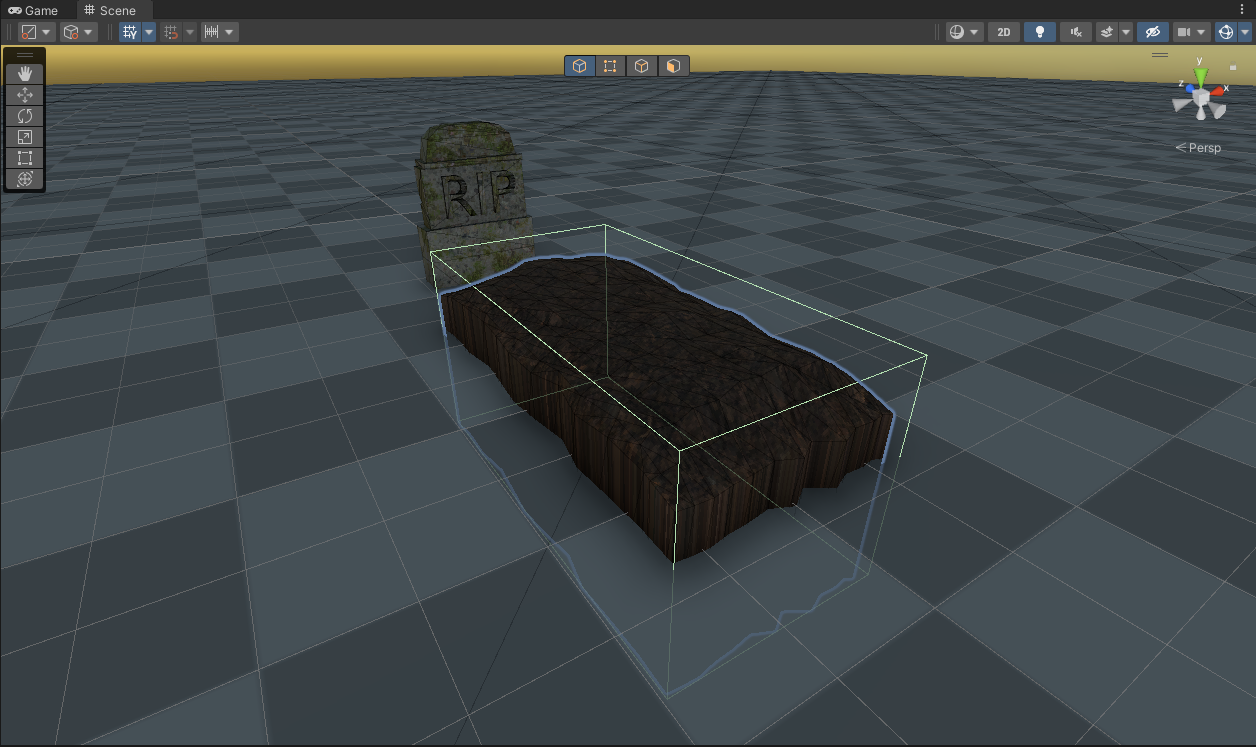
Then we have the “top” part. This has a box collider which is detected by player scripts to initiate digging (and also for them to stand on). As the player digs this will scale down on the Y axis before vanishing completely. It’s also the collider I use to calculate the bounds for carving out the terrain:
Okay, I think that’s everything, let’s get started!
The inital script
We can start with the outline of a script and add some comments to specify what we want to happen:
So let’s go in order:
Carving the right terrains
We can transform the Terrain’s local bounds from Terrain.terrainData.bounds into world space by using the terrain’s transform to translate the bound’s center:
Then we can just skip over the terrain bounds that don’t intersect the collider’s bounds:
You could also move the collider’s bounds into the terrain’s local space and do this check there. Either way, onto step 2:
How do I transform a world space position to the nearest hole pixel?
Most of the time, local space is easier to reason about with problems like these, so the first step of this process is to switch to working in the local space of the terrain. We do this because hole texture is effectively considered “stretched” across the surface of the terrain. This means that pixel [x: 0, y: 0] on the hole texture is at the bottom-left corner of the terrain and [x: 512, y: 512] is always the top-right corner. Transforming the query into local space this also means that [x: 0, z: 0] is always the bottom-left corner of the terrain and [x: 1000, z: 1000] is always the top-right corner.
Here’s how we can perform the smallest atomic operation of our problem, going from a world space position to a pixel position on the holes texture in the form of an extension method:
Now our updated carver component looks like this:
Pixel bounds
From this we can create our pixel bounds. We want to serialize a new property to add support for top, bottom, left, and right padding (z+, z-, x-, x+ respectively). To ensure that we’re getting all pixels that “touch” the colliders bounds we also want to add a one pixel buffer to the max. This takes care of steps 3 and 4 at once. Adding that back into our carver looks like this:
Carving it out and last second optimizations
Finally we need to pass our pixel bounds to the SetHoles function. The origin position is the min of our pixel bounds, and we want a two dimensional array that is the size of our bounds, filled with false values. The documentation states that x and y are flipped, so we do that here with our size:
Also, instead of using Terrain.activeTerrains, which allocates an array, we can write a function to do this with zero allocations (minus the IEnumerator?):
Final result, and other notes
We can see that with a padding of 1 we have a perfect hole around the “top” of the grave:
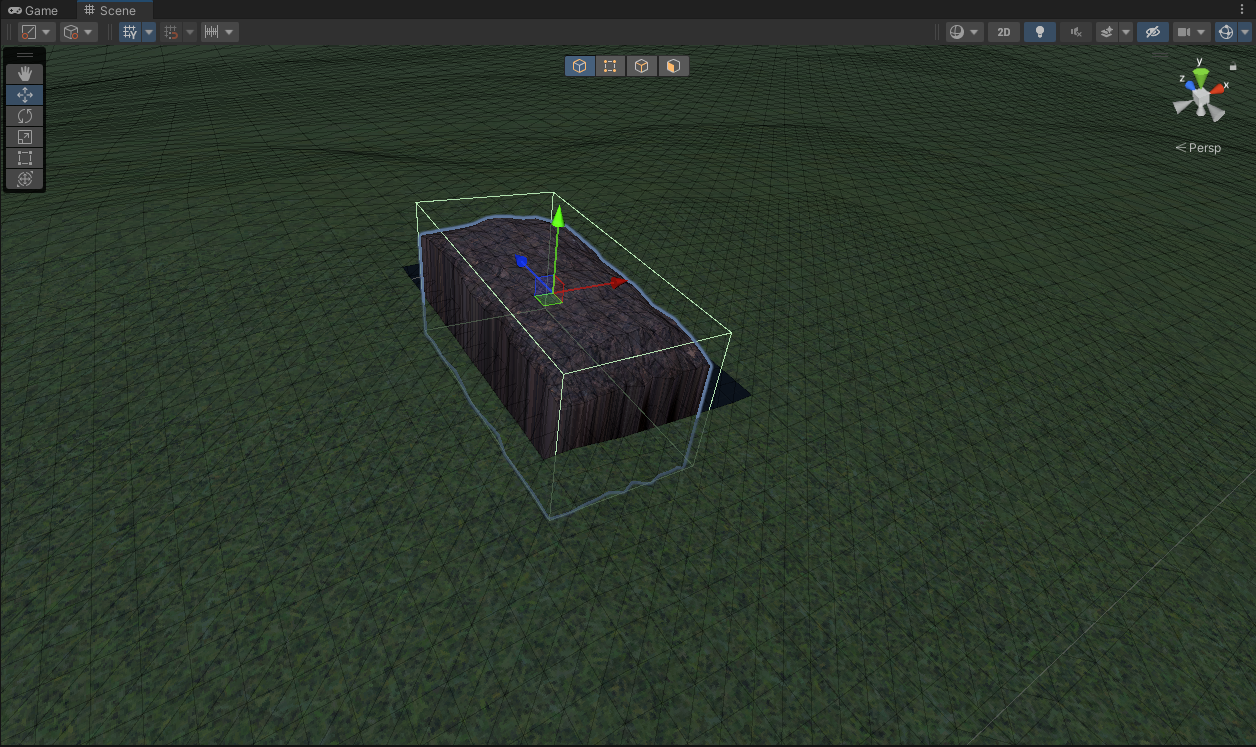
The rest of the grave mesh is designed to cover any gaps formed by the restriction of the hole texture resolution.
This is a fairly basic implementation and most likely won’t scale well or handle every case. For example, if we have many instances of this component it’d almost certainly be better to rearchitect this such that there is a single TerrainHoleCarver component that queries for all TerrainHole components, asks for their world bounds, and handles all of the hole carving in one spot. Also, if the bounds are rotated at a 45° angle, the world bounds can get quite a bit larger than the actual collider size. This results in a much larger hole than the collider itself represents.
In a future post I’ll go over how we can “march through” the collider in the hole texture’s pixel space to get a better representation of arbitrary collider shapes.

